
In July 2013, I purchased a Brother FS-40 sewing machine.

I had no idea how to use a sewing machine, so I watched a few videos on Youtube to learn the basic techniques of sewing using different stitches and positioning the fabric when sewing it together. But I still I had to read the manual that came with my sewing machine to understand how to use it properly! It only took me a few hours to practise with some scrap fabric that ended up with a broken needle!
As soon as I had learnt how to use my machine, I decided wanted to design a dress myself without using a sewing pattern. I watched a Youtube video on how to measure myself, so the dress would fit me. I grabbed a pencil and a pad, and started sketching a design for a dress. I wanted a floor length maxi style dress with a 1950’s sweetheart neckline and a halter neck strap. I jotted down my measurements and used tracing paper to make templates for each sections of the dress that I would be sewing, so that I could cut the fabric to size. At this stage I didn’t have the fabric for the dress so online I went! I’d never bought fabric before and I didn’t know at the time what fabric would be suitable for the design I had made. I found a beautiful silk fabric, that was a sky blue colour with a floral design and I ordered 3 metres. When the fabric arrived, it was so soft! But I had forgotten to take into account that I had designed the dress to slip on over my head and the silk fabric was not stretchy. I didn’t want the dress to have buttons or a zip, so I cut new templates out of the tracing paper to be a bit bigger than my measurements and purchased some elastic thread. I was now ready to start the dress!
I laid all the silk fabric on the floor and placed my templates on top of them. I then used white chalk to draw around the templates and cut the fabric. Once I had all the pieces cut to make my dress, I set up the sewing machine using the correct tension for the fabric I was using and loaded it with blue thread. I was now ready to start sewing.
I started sewing together the top half of the dress first, which comprised of four parts, see sketch below:
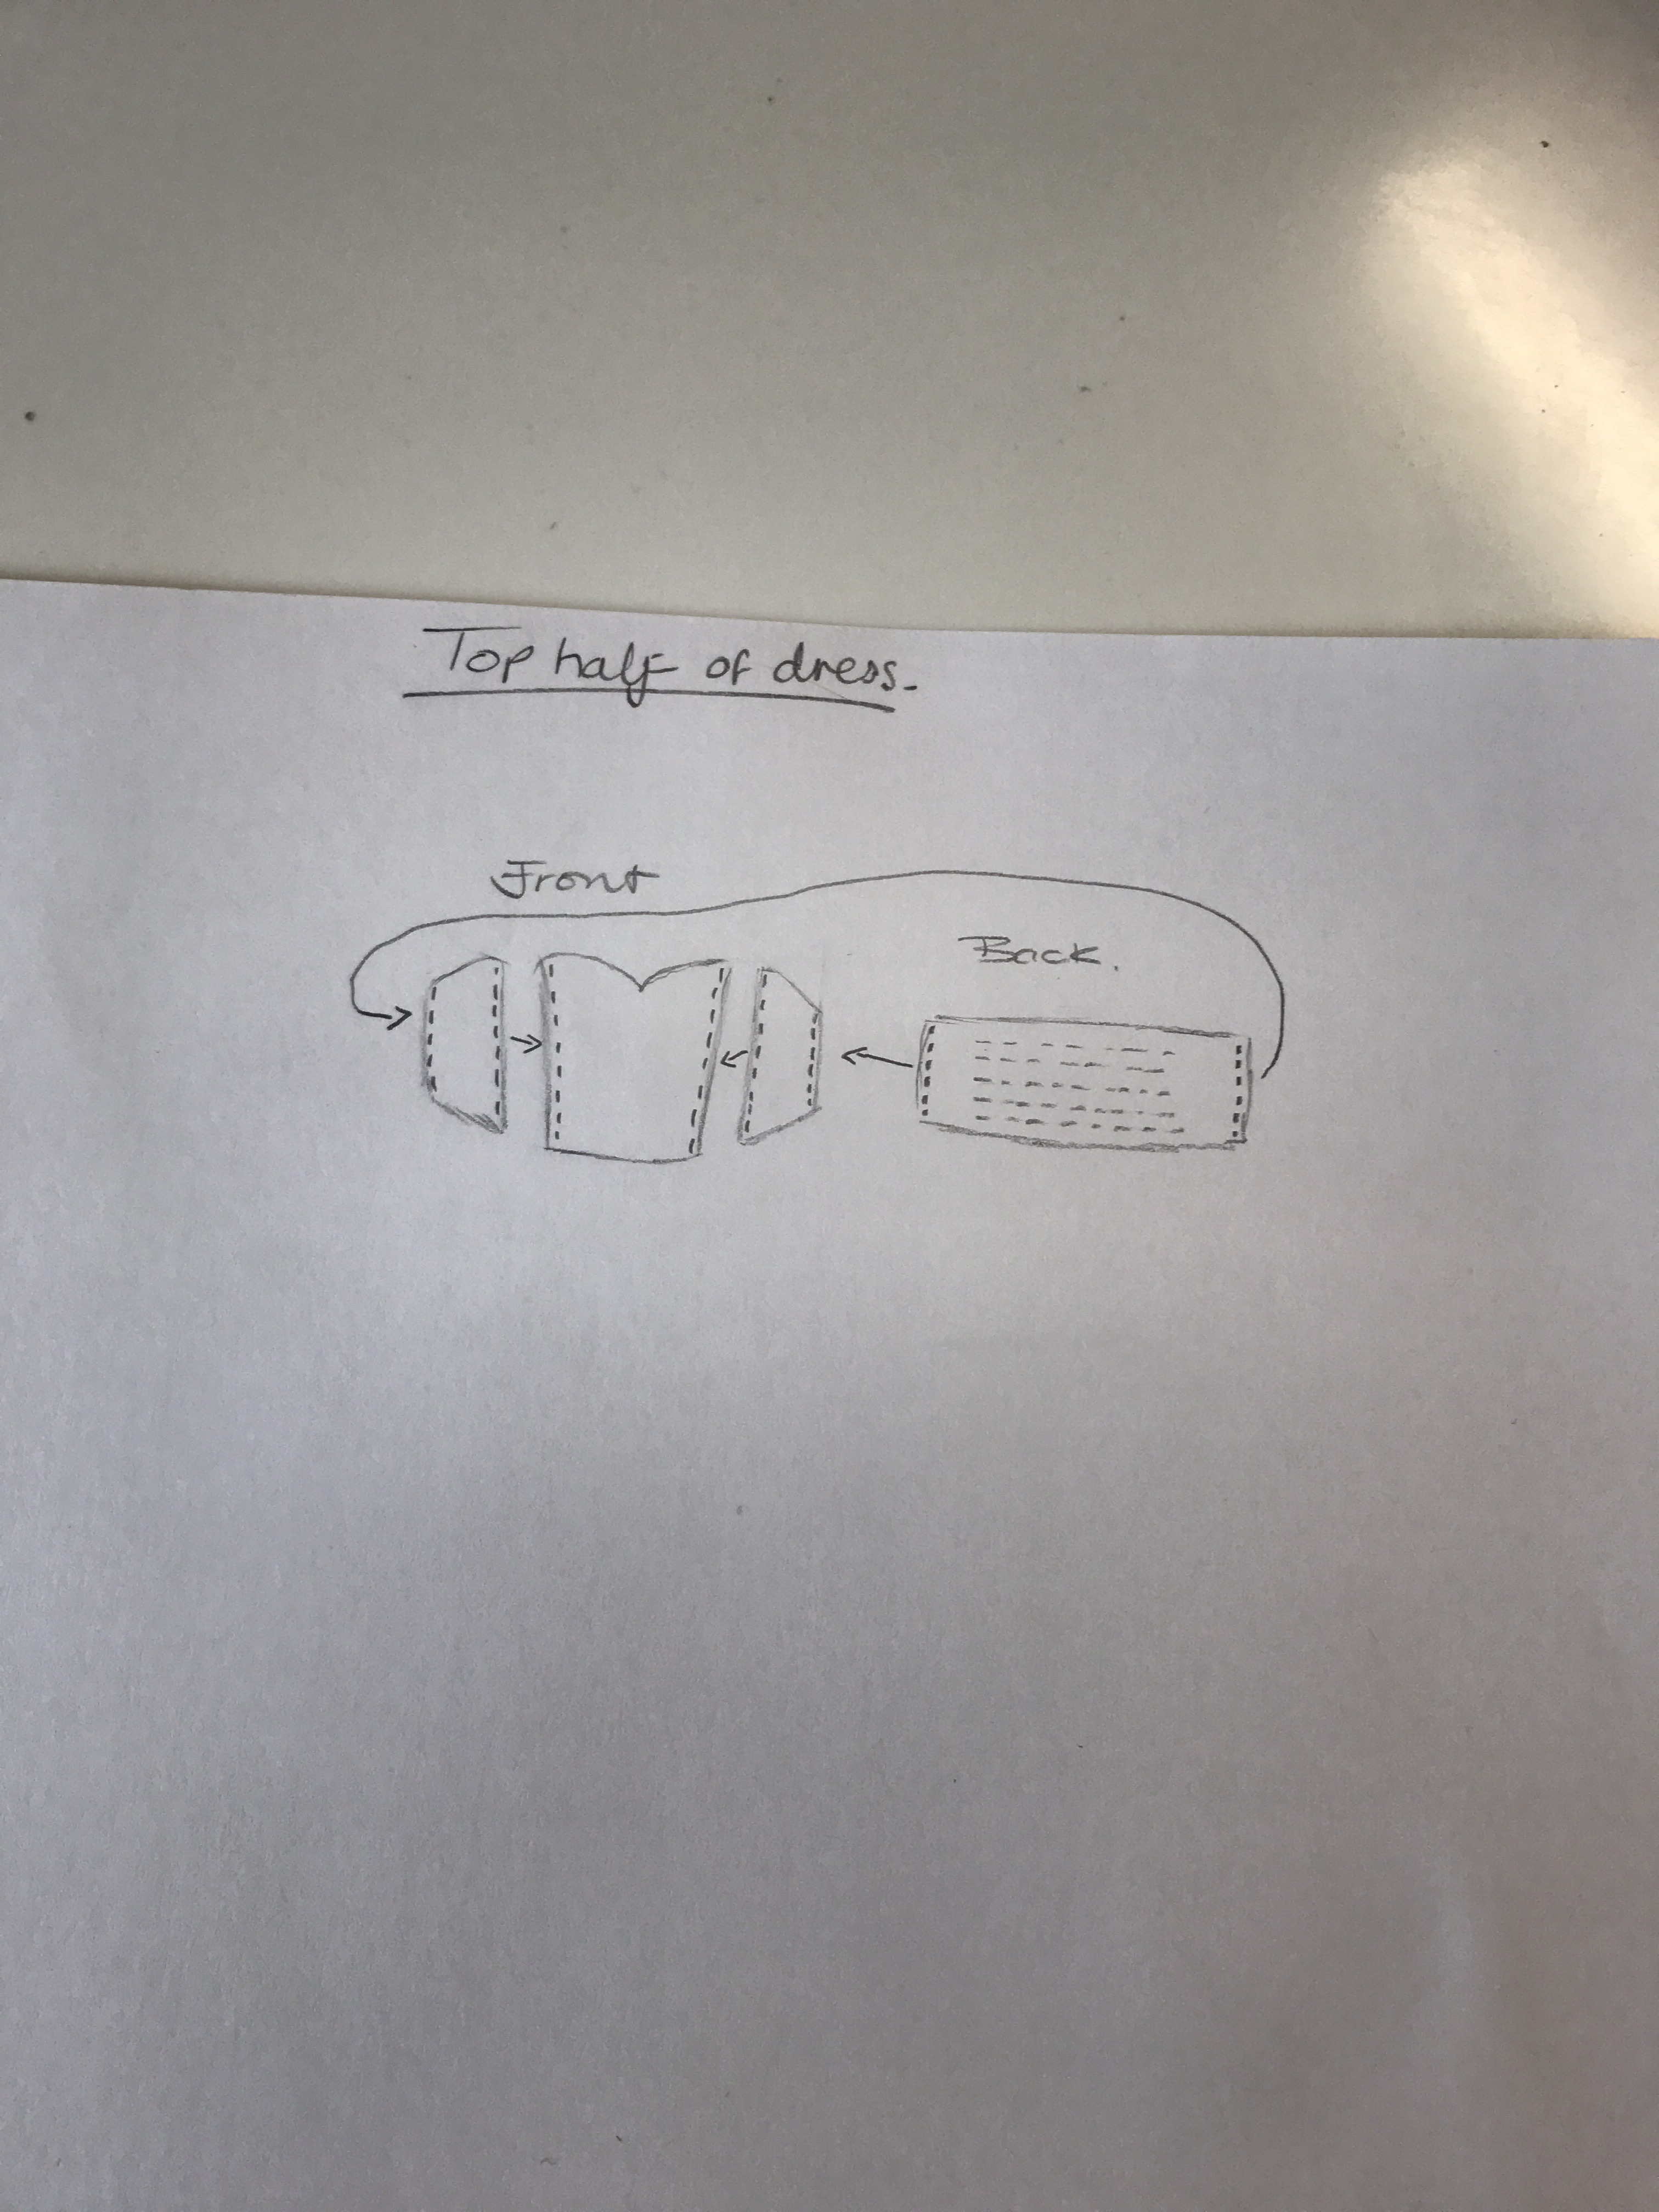
Sewing the pieces together was easy, apart from the sweetheart neckline, this was a challenge and took me three attempts to get a heart shape I was happy with! I then sewed the side pieces to it, along with the back piece and added the straps. I tried the top half on by putting it over my head and I was very happy that it fit me, but it was loose.
The bottom half of the dress was just one long piece of fabric, sewn together to make a cylinder shape. I hemmed the bottom of the dress so that the fabric wouldn’t fray and then pinned the bottom half of the dress to the top half. This was quite fiddly as it was the first time I was using the elastic thread but I soon realised I hadn’t changed the tension on my machine so the stitch was too tight, which meant I had to unpick the stitches I had just sewn. I’d learned from this mistake though by grabbing a spare piece of fabric and practising some lines using the elastic thread. It worked better with loose tension and I noticed that the lines had made the fabric become stretchy. This gave me an idea to put five lines on the back of the dress to make the top half more fitted. Once I had finished sewing the top and bottom of the dress together, and the elastic lines on the back. I was relived it fitted and that I’d now finished. I did notice that the elastic line I’d sewn across the back was not in the centre but I didn’t care as I was so happy I’d made a dress and I couldn’t wait to show it off!
Here’s the completed dress, with an added belt:


Over all the dress took me two weeks to complete, I’m not sure how many hours though as I was only doing it after work. I’ve worn this dress twice since making it. The first time I wore it was at work and half way through the day when I was walking around the office in a hurry, I realised I’d missed out something important when designing the dress. I’d cut the top half the same width as the top, which meant when I was walking the bottom was not wide enough for my stride, so I had to take small steps for the rest of the day! I did alter this once I got home though by making a slit on the one side of the dress that was knee high. The second time I wore the dress, walking was much more comfortable! 🙂
RATINGS
- Difficulty scale – Medium
- Time taken – 2 weeks
- Enjoyment –
 but frustrating at times – always plan ahead!
 - Would I do it again? – YES, if I had the time


